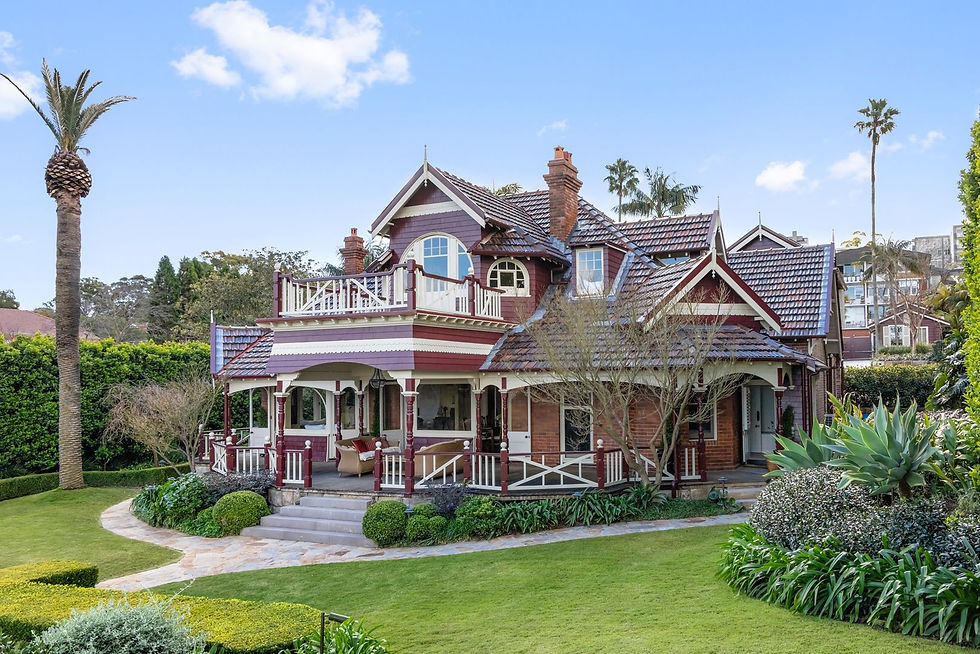
Another Federation House Renovation: Blog 4 Bathrooms
- emmajuliet
- Feb 12, 2022
- 5 min read
The original bathroom had been renovated in the 1990s, and does not contain a toilet. The laundry, a large room, had a haphazard layout, which included the downstairs toilet. Upstairs there was a small room containing a toilet and washbasin. All three rooms needed renovation. We decided that the first project should be a total renovation of the laundry. A multi-functional room was essential and there was a large enough area in this space to make a combined bathroom laundry. Alongside this renovation, we decided to renovate the upstairs toilet, as plumbing from the upstairs basin went into the laundry below. The original bathroom will be renovated at a later date.

Photos of the house from the 1950s show that the laundry originally consisted of an area across part of the back verandah with two of the walls not fully enclosed. There were open air sections across the top section of the walls, with a fibro wall partition at the base. These two laundry walls had subsequently been enclosed with panels of glass. The entire south wall was full of wood rot and not able to be saved. As this wall was not a part of the original structure, permission was given by the council to replace the cladding and glass panels. Once the internal cladding was removed, the original timber doors to the laundry were revealed. The internal door into the laundry was the original back door. There is a dark grey terrazzo door step into the laundry from the downstairs corridor. At some stage a new back door was placed at the end of the downstairs corridor, going through the small butler’s pantry which had been demolished.

Problems were soon revealed when the southern wall cladding was removed and the framework revealed. This wall had not been built on footings and the window frames, all rotted, were supporting the wall. The steel post supporting the masonry of the second floor was the only supporting structure. The infill windows, original base of the wall and the frame had to be replaced, and an entire new wall constructed on brick footings. An additional challenge was the loss of our carpenter in the middle of the project. He was moving intestate and couldn’t complete the lining of the room.

For any bathroom renovation there are two people that are essential to a quality renovation: the plumber and the tiler. We have worked with both our plumber and tiler on a variety of renovation projects and they have directed and advised to ensure a quality finish. They were central to the success of this renovation. The slab needed to be taken up in sections for the new waste water pipes from the shower, sink and washing machine outlets. The water supply was redirected across the ceiling and down the walls before the walls were relined. A false ceiling was installed to hide the electrical wiring and the previously exposed plumbing from the upstairs toilet. As the slab was compromised by sections needing to be removed for the retaining wall and plumbing, the tiler recommended a floating floor to ensure no movement or cracking occurred in the new tiled floor.

This bathroom and laundry needed to be both practical and serve as a ‘workhorse’ functional room. Keeping to the Art Deco decoration of the house, the floor was finished in alternate black and white tiles in a diamond pattern. Two walls were tiled in white from the floor to the ceiling. Art Deco is a distinctive style. Bathrooms lend themselves well to the Art Deco style: geometric angular shapes, shiny surfaces, chrome and abstract, geometric motifs. Bathrooms were typically black, white and chrome. The tiler very cleverly tiled the concrete base of the steel post to disguise the footing. Across the original wall that backed onto the veranda, a combination of custom-built tall cupboards, a washing machine space and a kitchen sink cupboard were installed. The cupboards and untiled walls were finished in Natural White and we chose for the bench top a durable laminate in dark metallic grey. The windows across this wall were cleaned and repainted. These windows ensure good natural light during the day. Down lights were installed over the sink and above the tall cupboards for night time use. A space was left at the end of the run of cupboards for a small chest freezer. This can also serve as a work surface if needed. An extending chrome shaving mirror, which is self-lit, was attached to the window frame.

Opposite the wall of cupboards, backing onto the tiled wall, a frameless shower and toilet were installed. Shiny, polished chrome taps and fittings were chosen and add to the finishing touch. Two towel rails were placed between the entry door and the toilet. A third towel rail added next to the chest freezer. A lot of time was spent making sure there was good flow in the room and that no section would impede the opening of doors and movement. This is an essential and very important step when designing a room that has a range of functions. The layout was drawn and measured and then discussed to ensure there were no errors in the finished design.
Running parallel with the laundry/bathroom renovation was the demolition of the upstairs toilet. Both the floor and wall tiles were original, but badly damaged by previous replacements of the toilet and the wall hung basin. The glaze on the black and white floor tiles had been abraded and were very stained. The inset medicine cupboard was in good condition and only needed repainting and cleaning. The tiles on the walls had to be taken off by hand as one wall was constructed of only a single layer of bricks. Using a jack hammer would have been risky as this wall backed onto the media room. James spent many days carefully removing the wall original wall tiles.
Once the downstairs toilet was functional, the upstairs toilet was removed. The plumbing of the wall hung basin had to be carefully and skilfully placed through the slab of this room into the ceiling of the downstairs laundry/bathroom. It was important that the floor and wall tiles could cover all the pipes and they needed to be chased into the bricks. The water supply to the toilet and waste pipe outlet come in through the outside wall, a common feature of houses in the 1920s. These external pipes are painted in brown to blend in with the external brick work. The tiler did an amazing job with tiling the floor and walls. Again, we chose a black and white diamond tile pattern for the floor, but using a much smaller tile. Subway wall tiles in white cover the three walls. Working with subway tiles is very tedious and time consuming. Fortunately, the grey and white marble of the window ledge was in good condition. Repainting the window, fly screen and walls above the tiles in Natural White helped to create a look of space in this very small room. A new wall hung basin, with a shiny exposed chrome waste pipe, was installed, along with a chrome towel rail and tap.

Our next blog will reveal how we changed the neglected overgrown garden into a practical and family friendly outdoor space.


Comments